
In the world of cryptocurrencies, there’s a lot of discussions and lessons when it comes to digital asset security and one of them is multisig wallets. The term multisig stands for multi-signature and the following post will teach anyone how to create a 2 of 2 multisig wallet.
Years ago cryptocurrency developers came up with an idea to increase wallet security by leveraging a multisig wallet. Basically, a 2 of 2 multisig wallet consists of two wallets but people can create wallets with more than two signers. Essentially, with a multisig wallet, two or more signatures are required to authorize a cryptocurrency transaction.
In this tutorial, we are going to create a 2 of 2 multisig wallet for bitcoin cash (BCH) storage using the Electron Cash wallet. However, the same method can be applied to a bitcoin (BTC) wallet by leveraging the Electrum wallet software and following the same directions.

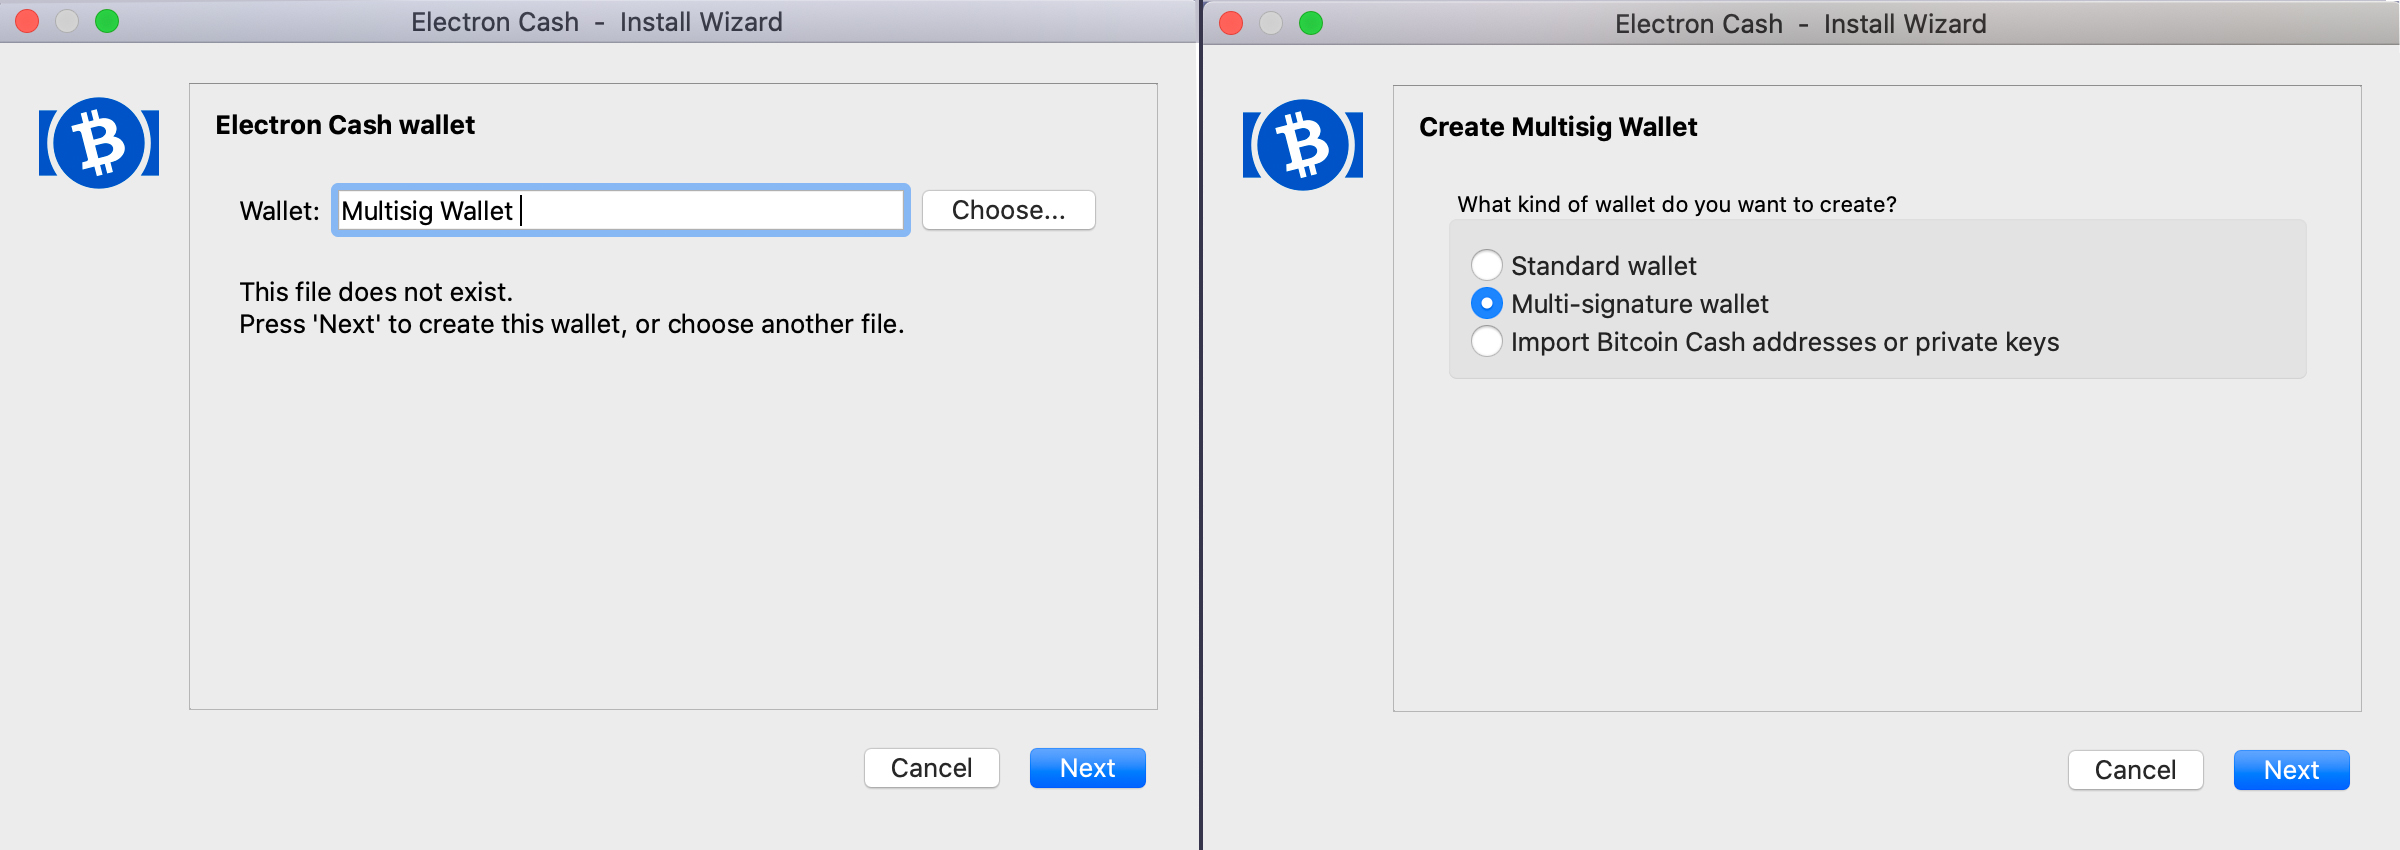
The first thing you need to do is download the latest Electron Cash (EC) software and create a “new wallet.” If you already use the EC program, simply create a “new wallet” using your software. Existing EC users can find this area in the “file” section and by selecting “new/restore.”
From here, the wallet software will ask you if you want to name the wallet and this part is optional. After choosing to name the wallet, press “next” and EC will ask you whether or not you want to create a “standard” wallet, “multi-signature” wallet, or “import.” You want to select a “multi-signature” wallet and then press “next.”
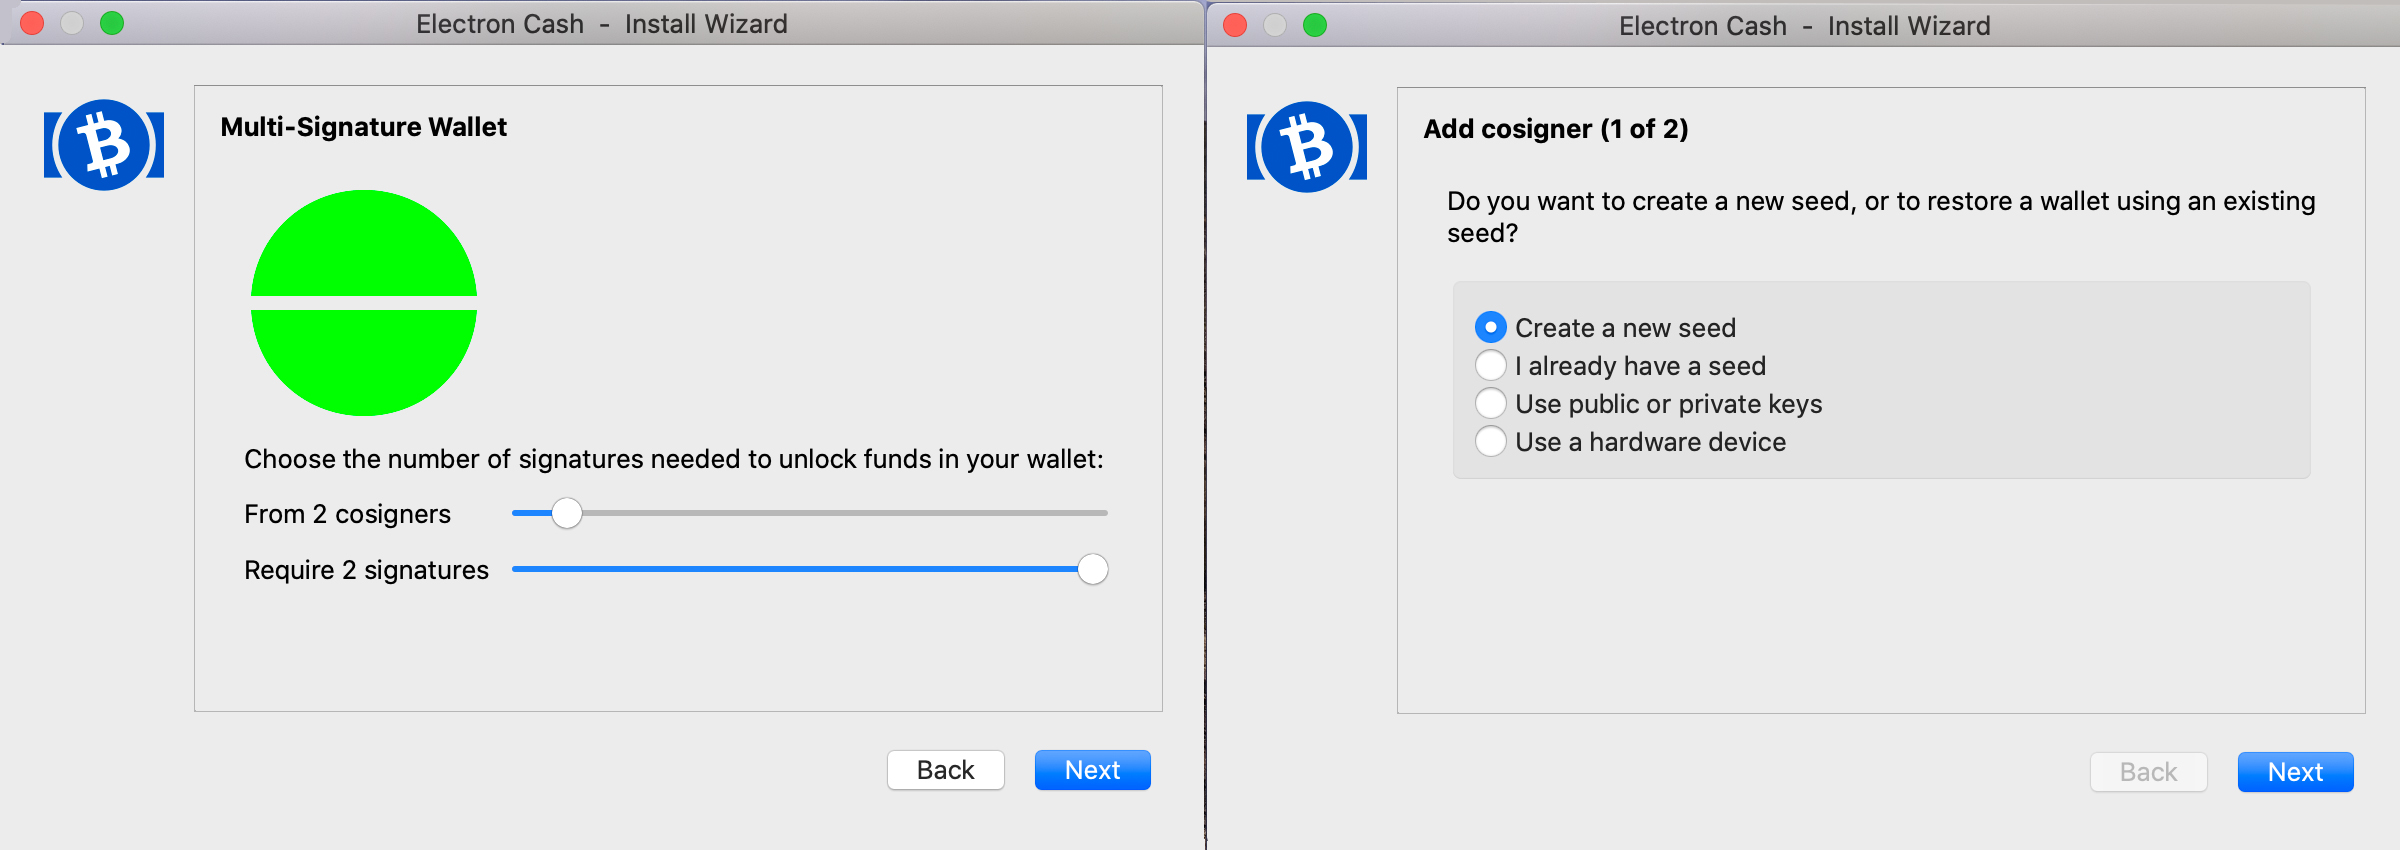
The EC software will then ask you how many signers will be able to use their signatures to unlock funds kept in the wallet. For this step-by-step tutorial, we are going to choose the 2 of 2 multisig wallet but as mentioned above, you can create a wallet with up to 15 cosigners with the EC wallet.
After selecting the 2 of 2 multisig wallet, simply press “next” and the software program will give you four choices to create the original multi-signature wallet. You can also import an existing seed, leverage public or private keys, or use a hardware device. For this step-by-step, we will “create a new seed.”
Creating a new seed with the EC software is the same method as creating a new seed with any wallet. For beginners that means recording the 12-word mnemonic phrase on a piece of paper for safekeeping. After pressing “next,” in order to create a new seed, the EC wallet software will give you the twelve-word seed on the following screen.
Do not take a screenshot of the seed or record it electronically. Never disclose it to anyone and write it down on a piece of paper. Make sure you keep it hidden for safekeeping. When you finish writing the 12-word mnemonic phrase down, press “next” again and the software will ask you to confirm the seed in the correct order.
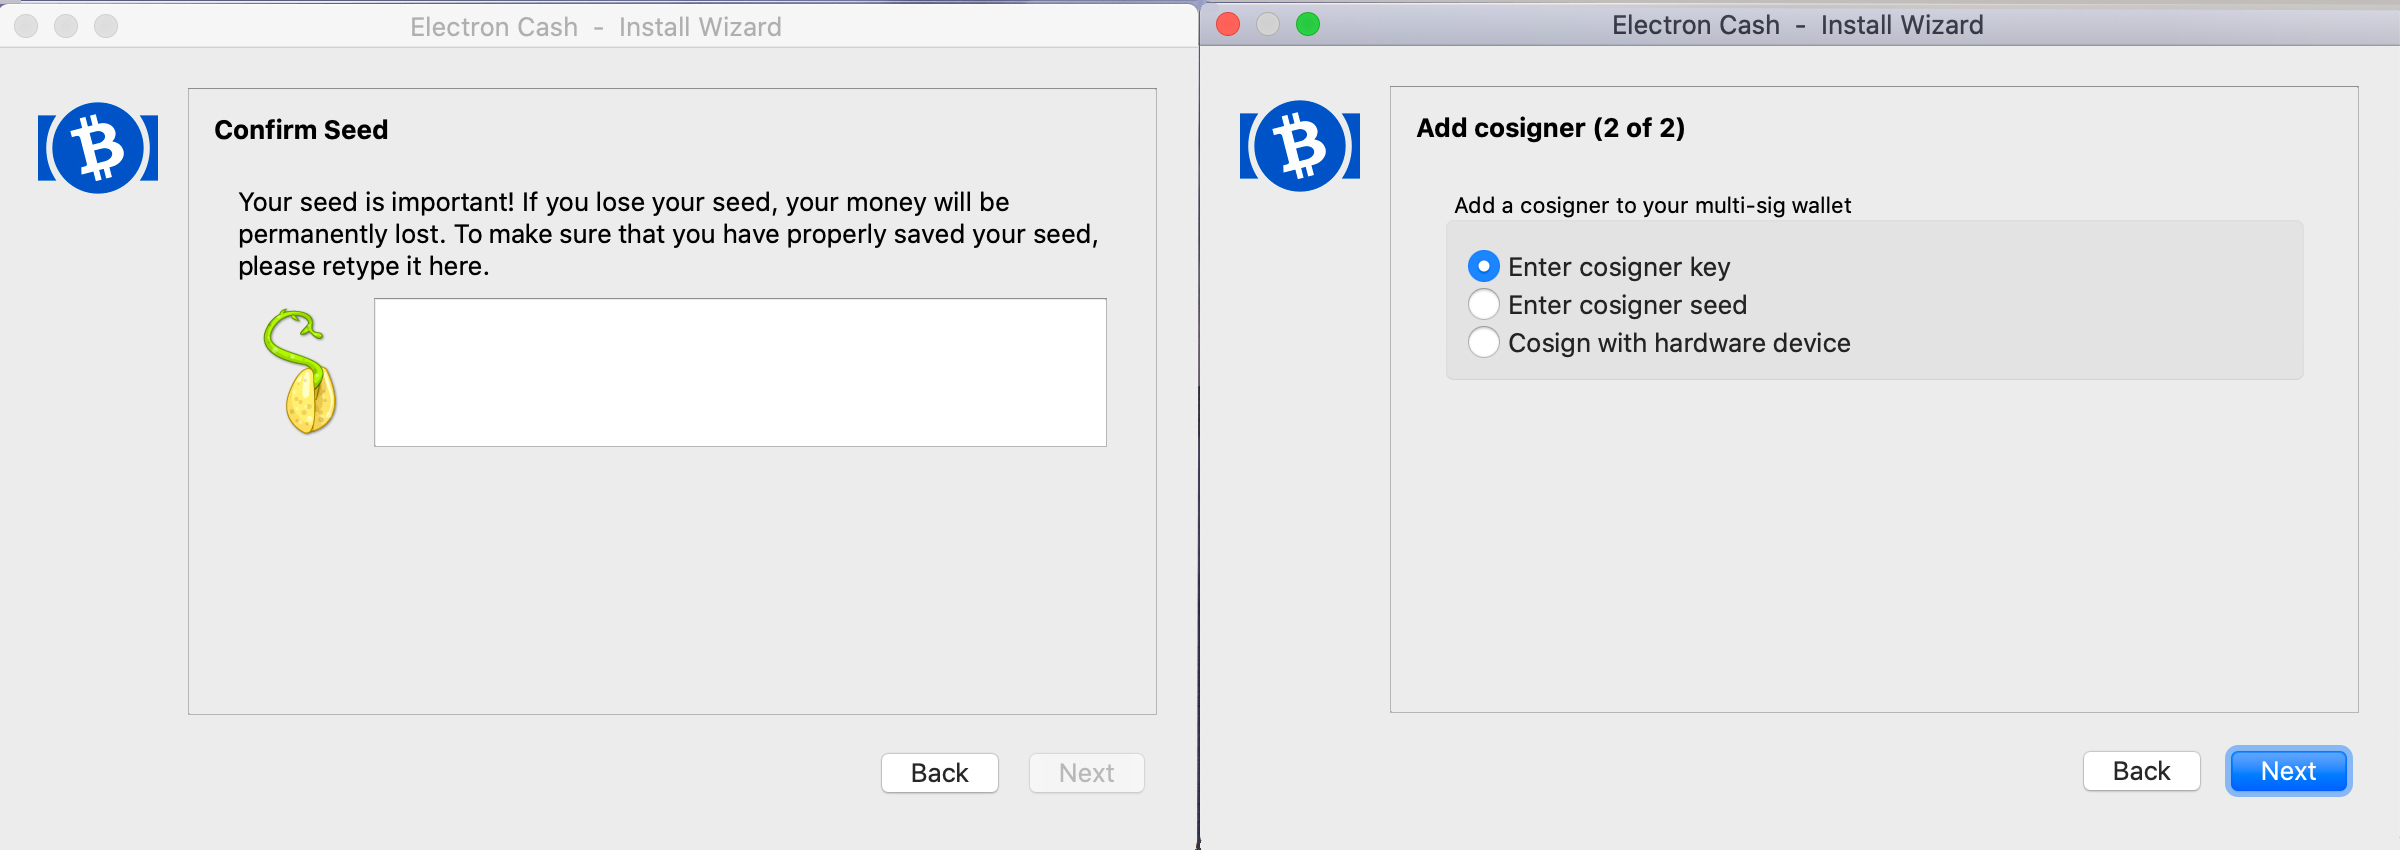
The software says “Your seed is important. If you lose your seed, your money will be permanently lost. To make sure that you have properly saved your seed, please retype it here.” When you do this, make absolutely sure no one is around and retype the 12-word mnemonic phrase you just wrote down on paper into the EC software window.
After the seed is entered, simply press “next” and the EC wallet software will show you the wallet’s extended or “master public key.” Now the second cosigner will need to provide you with their extended public key, which is also referred to as the “xpub” key.
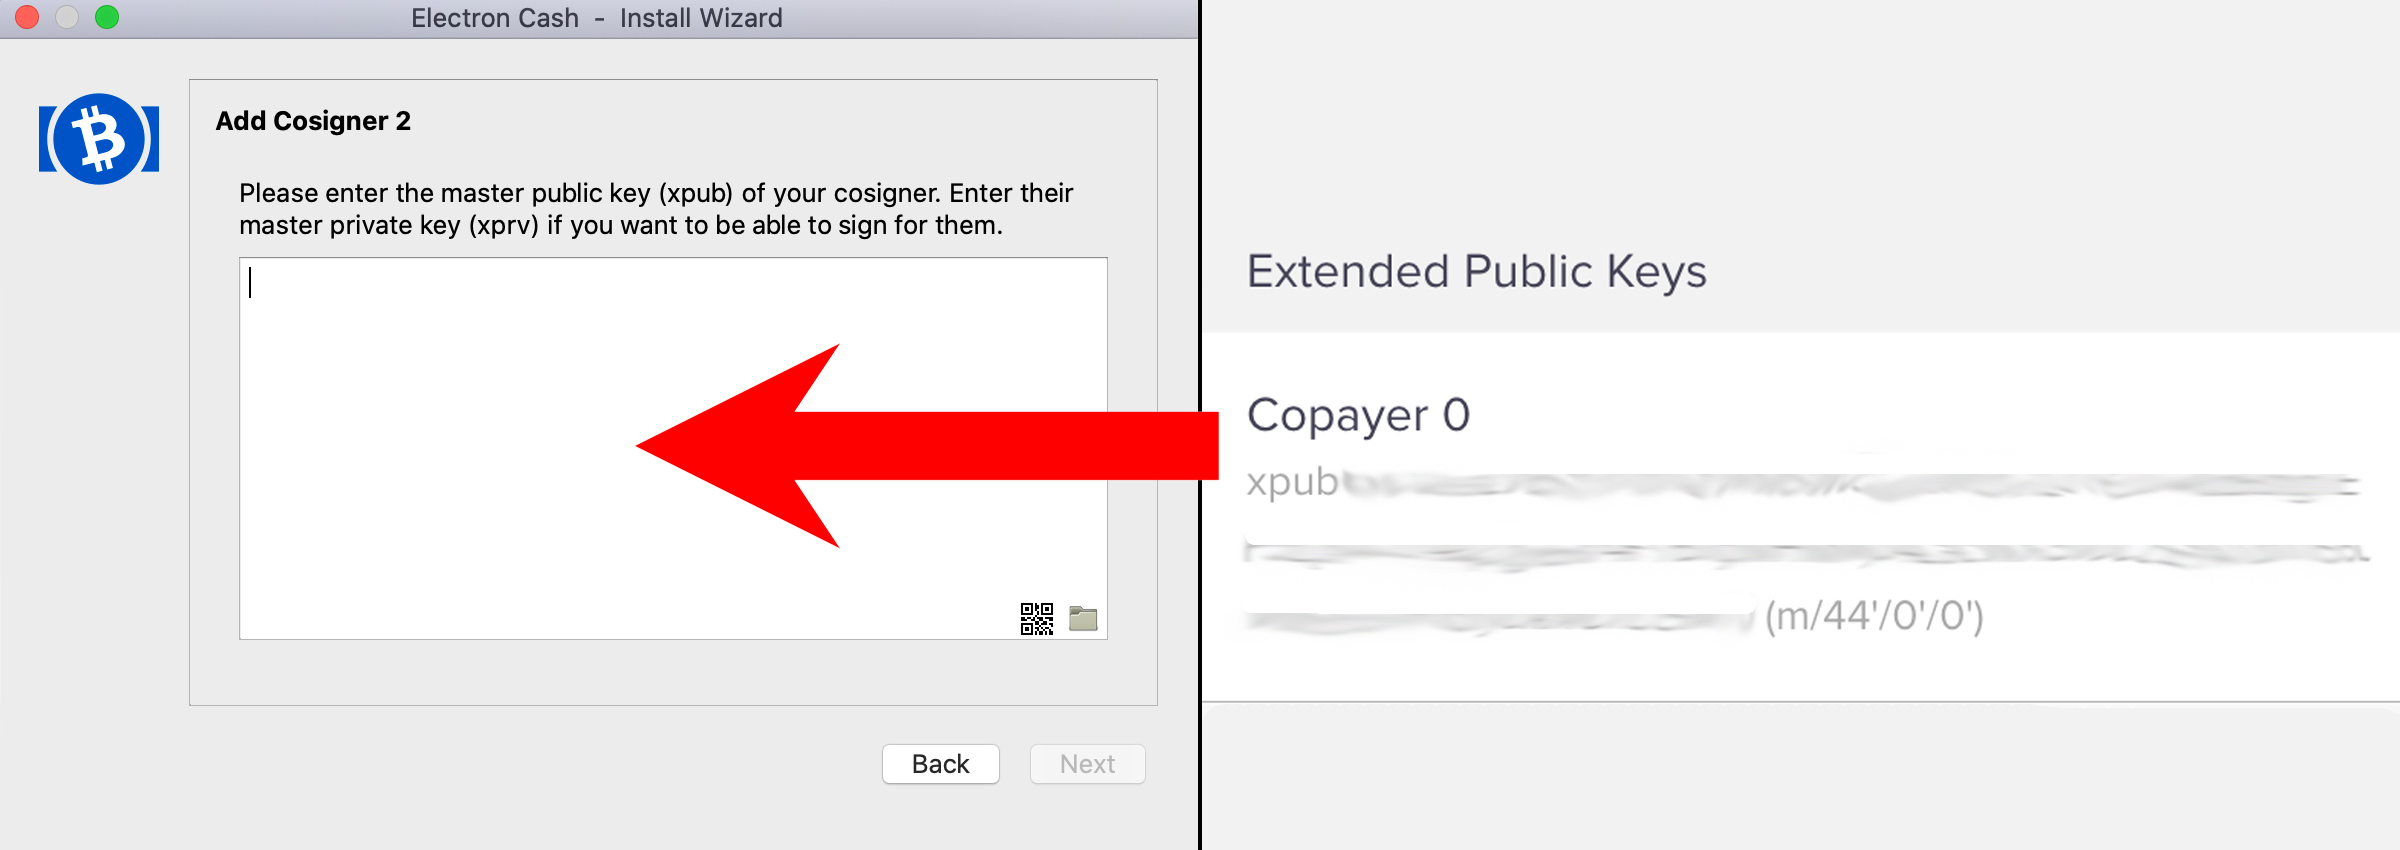
Essentially the extended public (xpub) key is part of the BIP32 address standard, which gives a user either a master view into a wallet or signature capabilities if the wallet owner approves it. After locating a friend or family member’s xpub key for this 2 of 2 multisig wallet experiment, the EC wallet will ask you to enter a cosigner xpub key in order to create the cosigner of the 2 of 2.
“Enter cosigner key” simply means to copy and paste the friend or family member’s xpub key into the window. But EC also allows people to create a cosigner by entering a seed or cosigning with a hardware device. For this walkthrough we will choose the “Enter cosigner key” and after pressing “next,” paste the xpub key into the window’s text field.
The EC wallet says: “Please enter the master public key (xpub) of your cosigner. Enter their master private key (xprv) if you want to be able to sign for them.”
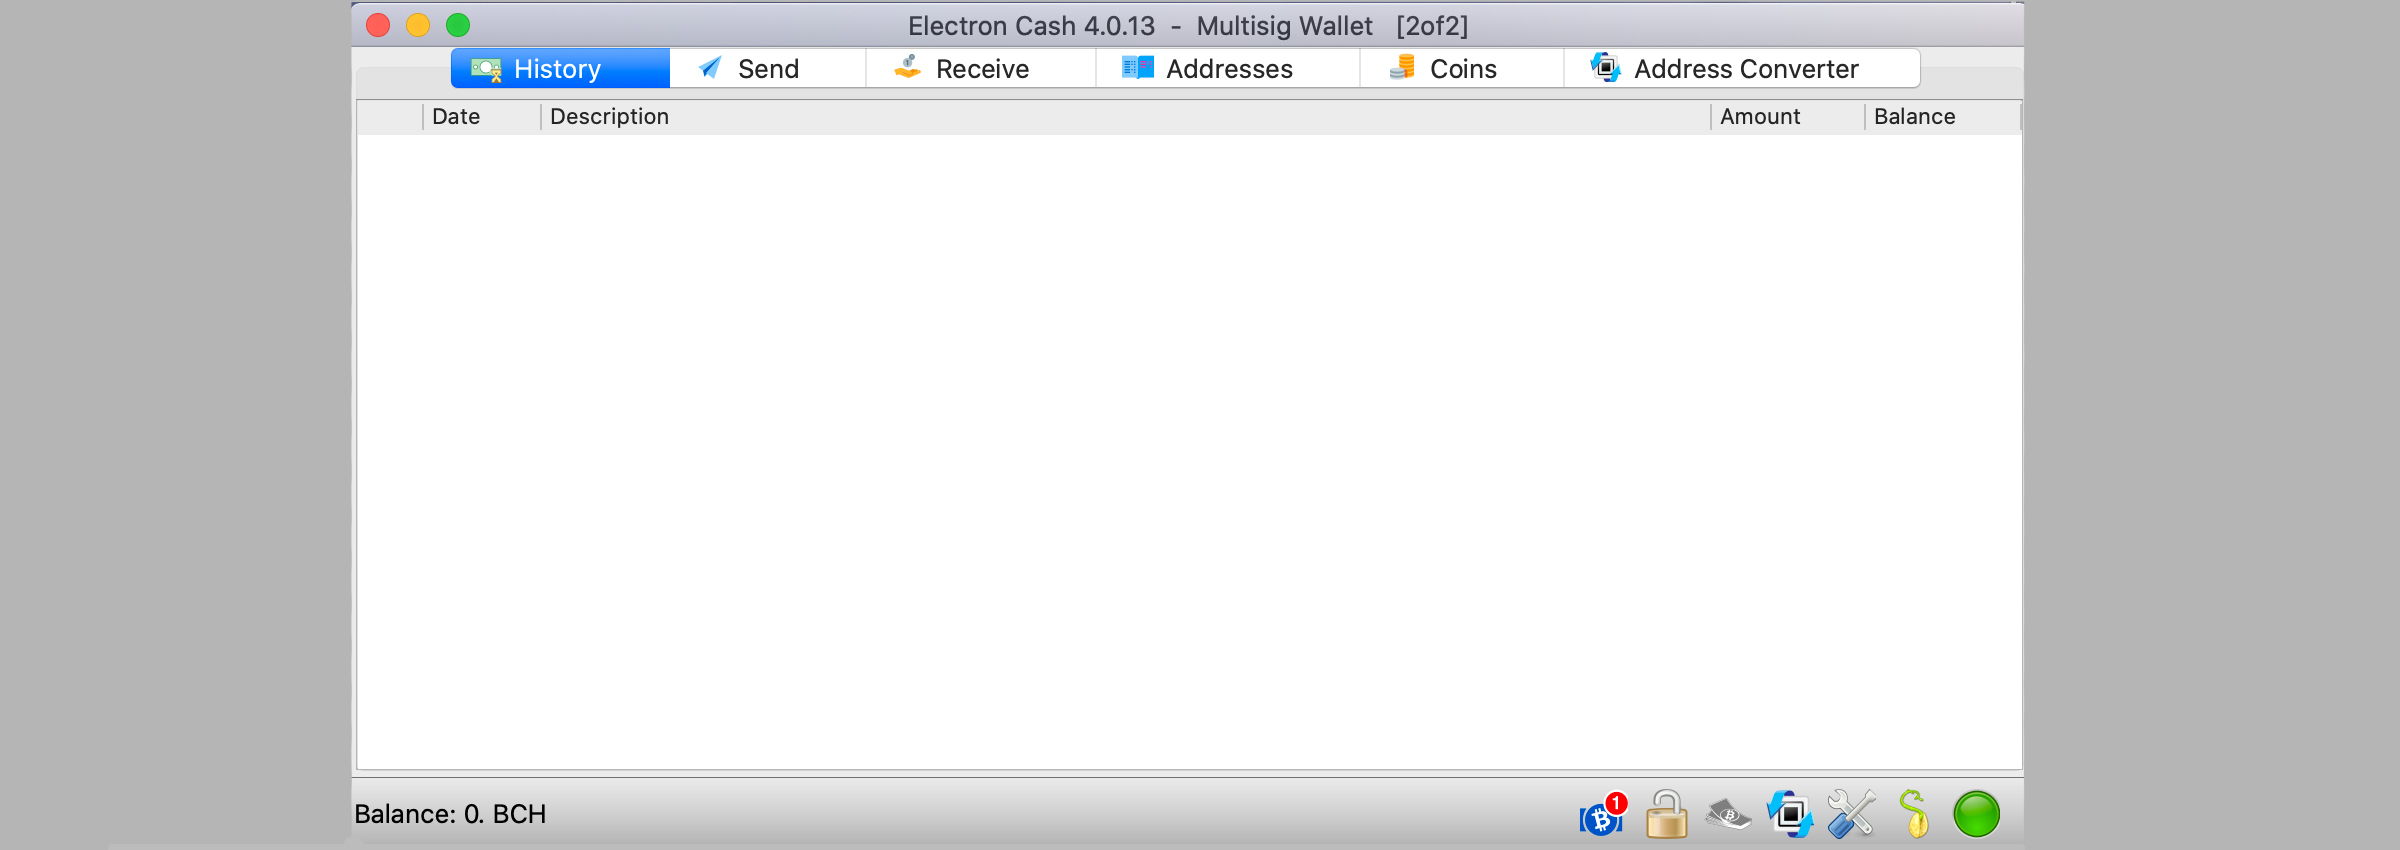
After entering the cosigners xpub key, the 2 of 2 multisig wallet process will be finished and you can use the wallet from here. You should always create multisig wallets on different devices or separate machines when creating a multisig wallet, but it is possible to leverage the same machine.
Multisig wallets add an extra layer of security and allow people to collaboratively control cryptocurrencies like bitcoin cash (BCH) or bitcoin (BTC). You could also add an extra layer of security by running one wallet on one machine, and another on a device you keep offline.
This type of solution makes it harder for an attacker or even software programs like malware to steal your BCH or BTC. The number of security solutions added to a wallet with the multisig scheme is quite extensive.
What do you think about multisig wallets? Let us know what you think in the comments section below.
The post Bitcoin Security 101: How to Create a 2 of 2 Multi-Signature BCH Wallet appeared first on Bitcoin News.
via Jamie Redman
0 comments:
Post a Comment